Add and edit vendors
Add vendors to your directory, edit their details, deactivate them, and open a vendor to see their bills and activity.
Vendors is your directory of suppliers. Keeping it tidy means bills are matched to the right vendor automatically and you can see, per vendor, what you've bought and what you owe.
Open it from the left sidebar under Master Data → Vendors.
Add a vendor
Create a new vendor
On the Vendors page, add a vendor.
Enter the details
Fill in the vendor's name and contact details. You can also add payment details now or later.
Save
Save the vendor. It's now available to pick on bills, payments and purchase orders.
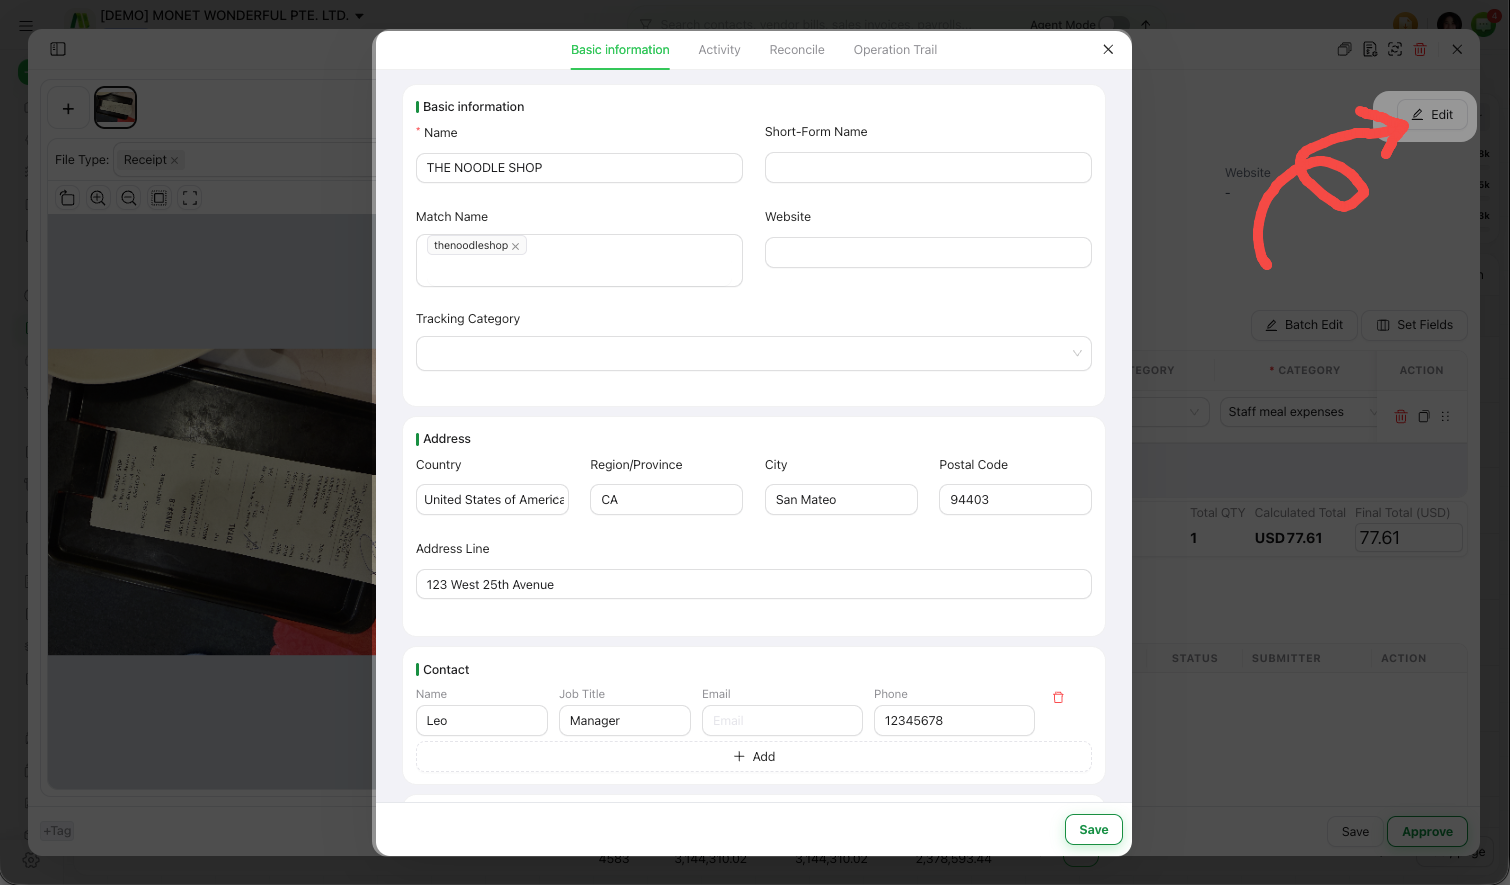
Edit a vendor
Open a vendor to change its details at any time. From the vendor detail you can also see the vendor's bills and activity in one place, so you have the full picture of your dealings with them.
Vendors share the same contact directory as customers. When you're on the Vendors page you're seeing the vendor side of your contacts.
Deactivate a vendor
If you no longer deal with a vendor, choose Set as Inactive. Inactive vendors stay out of your pick-lists but keep their history, and you can Reactivate one at any time. There's no delete for an individual vendor — unused ones are removed in bulk instead.
The amount calculation setting
A vendor has a setting for how its total amount is calculated — Calculate By Bill, Calculate By Invoice or Calculate By Bank Reconciliation. This changes the figure shown for the vendor.
Which basis is right for your reporting depends on how you track spend with that vendor. If you're unsure what a given option will show, check with your accountant before changing it.